Arnold standard surface shader
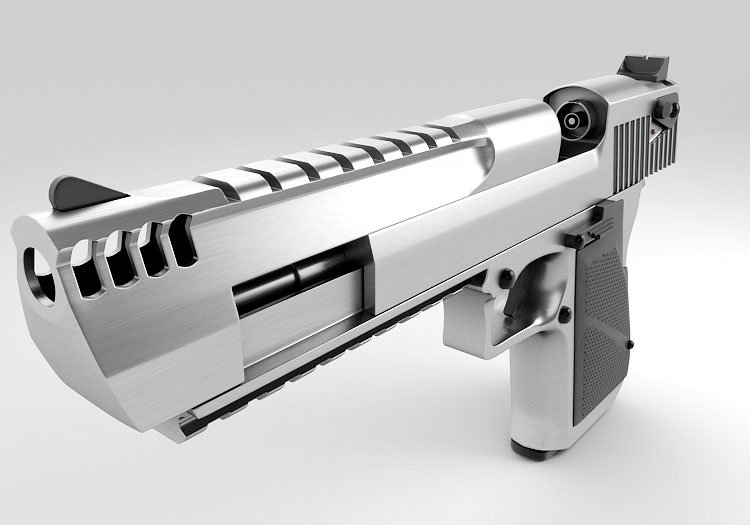
The standard surface shader is a generic node from which you can produce many different materials like metals, plastic, wood, stone, glass, liquids …
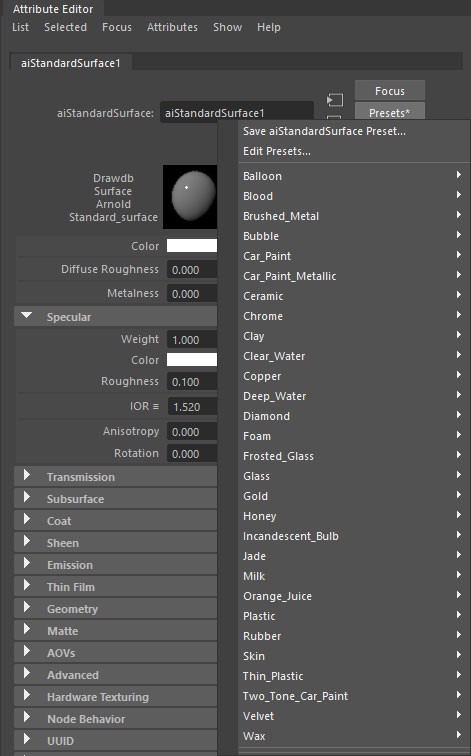
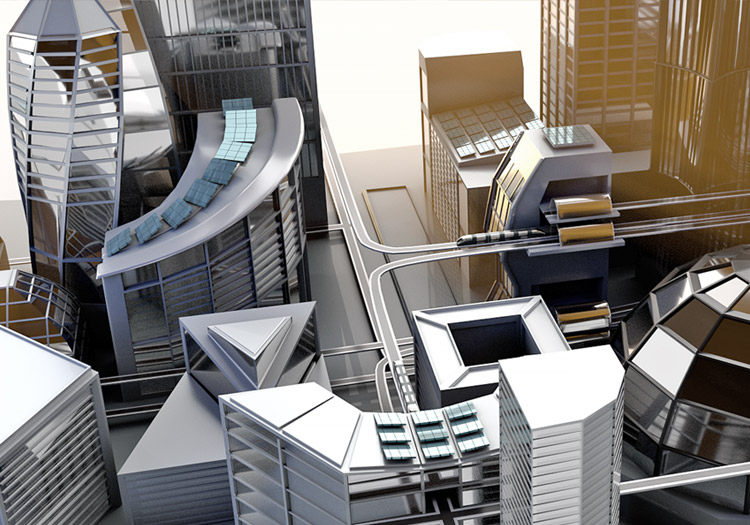
Standard surface materials presets.
From start, you can use “out of the box” presets which can help you to better understand correlation between options.
It is important to know that these options won’t give desired quality immediately when they are applied. In order to gain better visual result, you would have to include more rendering steps such as, texturing, render settings and lighting.
Base Settings
First options that are available once you add this node to your scene is Base settings. Here you are basically making a decision whether your material will absorb more Plastic, Lambert or Metal characteristics. In either case the expected result will apply on solid diffusive surface.
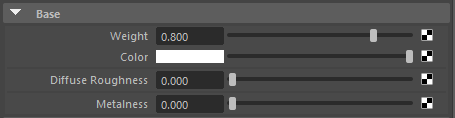
Weight – represents the intensity of diffuse color. Values closer to 1 will display chosen color more clearly. Value of 0 will just display black surface.
Color – this node is determining the diffusion shade of the material. You can select a solid color from “color picker”, or you can add a texture node by clicking the “checker” button on the right side.
Texture can be added by selecting next options: “Checker button” -> Add file node -> Browse image name -> Add image. Later you can edit image within 2d texture placement option. If texture is seamless, you can manipulate with its size, and repeat UV points so it covers entire surface without need to create large resolution textures. This is also good way to optimize scene.
Adding the texture as a diffusion color is important in creating photorealistic images. With the shaders downloads, we are also providing seamless textures that can be used as diffusion color in base settings.
Diffuse Roughness – higher value will make diffusion color less scattered across the surface, which is desirable for materials like rocks and gravel. By keeping this value low, surface will absorb more diffusion color, which is desired for materials with flat surface.
Metalness – This gives material metal reflections if value is closer to 1. Otherwise, material will act more as lambert or plastic.
Specular settings
In these options you can edit reflectivity of the material.
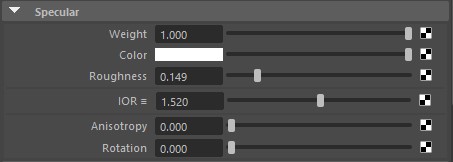
Weight – increases visibility of reflections. Value of 0 represents non reflective surface.
Color – This will add color to reflections.
Roughness – is controlling sharpness of the reflections. Value of 1 will make reflections invisible, as they are going to diffuse across entire surface. This is mainly because rays are reflecting in different directions over rough surface. Value of 0 will give mirror like glossy reflections.
IOR – short of Index of Refraction, is number that determine how will the reflection behave depending on camera field of view. If number is closer to 1, reflection will be more visible on edges of the object. Moving IOR value more to the 1.5 – 1.6 will make reflection visible to direct point of view, or to be precise, reflections will appear on the frontal surfaces.
Index of Refraction is important value when the transmission is applied on the surface. It defines how refractive rays will break through transmissive material. If value is 1, no particular difference will be visible in comparison to image that is in behind. Moving further from this value, you can notice that refractive rays are transforming the image that passes through this surface.
Water IOR is 1.33, Glass is 1.5 to 1.7, Air is approximately 1.
Anisotropy – can determine how highlighted reflections are spread across surface. Value of 0 will accumulate reflections at one point, while higher values will stretch reflection more across U axis.
Rotation – this can rotate the anisotropic reflections.
Transmission settings
Weight – Sets the transparency of material. Value of 1 will make surface entirely transmit light rays. If 0, no refraction will be allowed to pass.
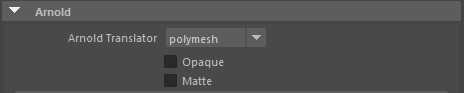
Color – This option will add color shade inside refractive surface. Longer refractive rays will produce more intensive color. If you allow light to pass through the refractive element, disable “opaque” option in attribute editor.
Select element -> Arnold -> Opaque
Depth – By increasing this value, you will make refractive surface thinner which will allow transmission color to be more intense. Otherwise, by decreasing it, material density will become thicker, which will suppress transmission color.
Scatter – Adding scatter color and value will add “muddy” behavior to refractive material. This is important options for liquids like milk or honey …
Scatter Anisotropy – adding shape to refractive rays. If it is 0, rays will spread evenly.
Dispersion Abbe – This will add randomness to refractive index, depending on the rays length. This can result chromatic noise become visible over the refractions.
Extra roughness – can control additional blurriness of refractory materials.
Subsurface settings
Subsurface scattering represents the ability of the material to absorb and scatter light rays below its surface. Mostly is used for rendering the skin, wax, marble …
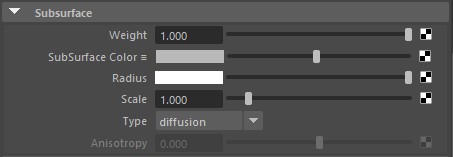
Weight – By setting value to 1, you will enable sub surface light scattering on the material.
SubSurface Color – Determine the shade that is going to appear on surface which is absorbing the light rays.
Radius – By increasing this value, you will increase radius of the surface that is absorbing the light. Value of 0 will bring more solid look of the material, without light scattering.
Scale – This value defines how deep will light rays gone inside the material. There are predefined values for certain materials that has to be followed in order to gain realistic rendering results. This value multiplies the radius value.
Type – There are two options to choose:
- Diffusion
- Randomwalk
Anisotropy – This option is enabled if you chose Randomwalk type. It will allow you to add randomness into rays direction, which can help you to apply subscatering effect to different parts of surfaces, that usually wouldn’t be able to.
Coat settings
Coat is acting like reflective layer on top of all material settings that is set in previous options (base, specular, transmission, subsurface …). Good example of its usage is car paint color. Coat options are very similar to Specular ones.

Weight – enables coat reflections on top of the material. Values of 1 represents highly reflective surface.
Color – adds shade of the top reflections, this color shade will overlay material underneath.
Roughness – determines whether your surface will have glossy, or rough reflections. Lower values are sharpening reflections, while larger are make them appear more blurry.
IOR – Similar to specular Index of refraction, value around 1.5 will display most of the reflection that covers direct camera view point. Lowering this value will reduce reflections to the edges of the material.
Sheen settings
Sheen option will distribute light rays on surfaces that are not in direct field of view. It will enhance light color on Fresnel surfaces. Mostly it is finding good usage on non reflective materials like fabrics and trees, giving it more realistic look.

Weight – enables sheen effect. Higher number will create more color light on surfaces.
Color – Adds color shade on Fresnel surfaces.
Roughness – Higher value will make sheen color spread diffusive, covering more of the surface.
Emission settings
Emission option enables ability of the material to emit the light.

Weight – will add emission light.
Color – will add a color to emission light.
Thin film settings
When enabled, this films act as an extra layer on top of the surface, affecting color output.

Thin film options for Maya’s Arnold standard surface material
Thickness – affects intensity of color that is affecting the surface.
IOR – modulates color variance that is applied.
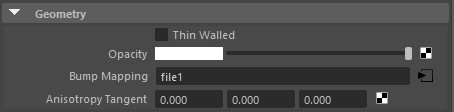
Geometry settings
Bump mapping – is most valuable option inside geometry options. By adding grayscale bump map, you will artificial create surface rough terrain. As value you are adding an image, and by increasing depth you will create larger bump geometry.
You can download some free bump map textures here.
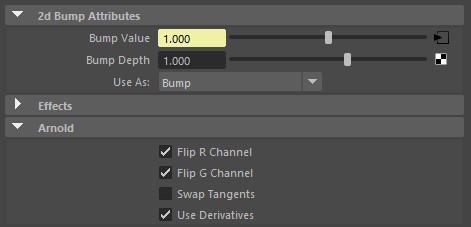
You can use RGB color images as well, and choose which normal maps to include or exclude from bump effect. These settings are available in Arnold tab within bump mapping settings.