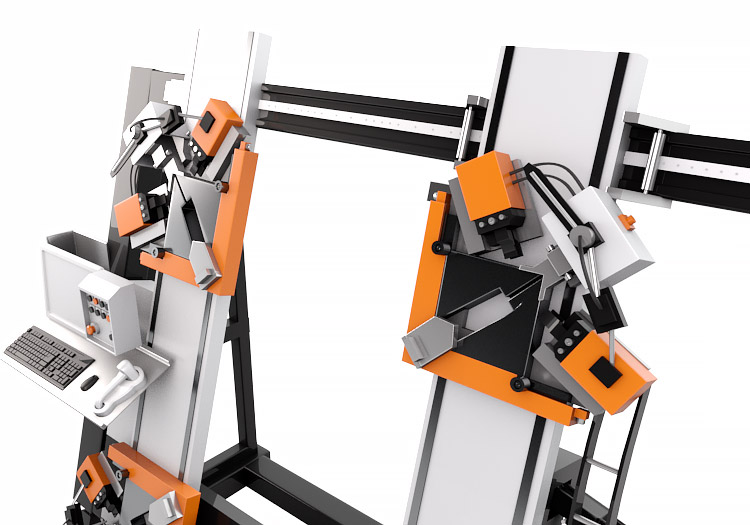
High polygon count 3d models
This types of models have good rendering performances, leaving render engines less need for demanding calculations. In Maya, easiest way to increase polygon count is by smoothing the primitives.
Smoothing the primitives

Smoothing can be done from main navigation, or by pressing space button and activating hotkey menu.
Mesh -> Smooth.
Additionally you can select options ( cube icon on the right ), and choose density of the smoothing process by adjusting “Division levels”.
You can do the opposite by selecting “Reduce” option, but initial tessellation attributes will never be recovered.
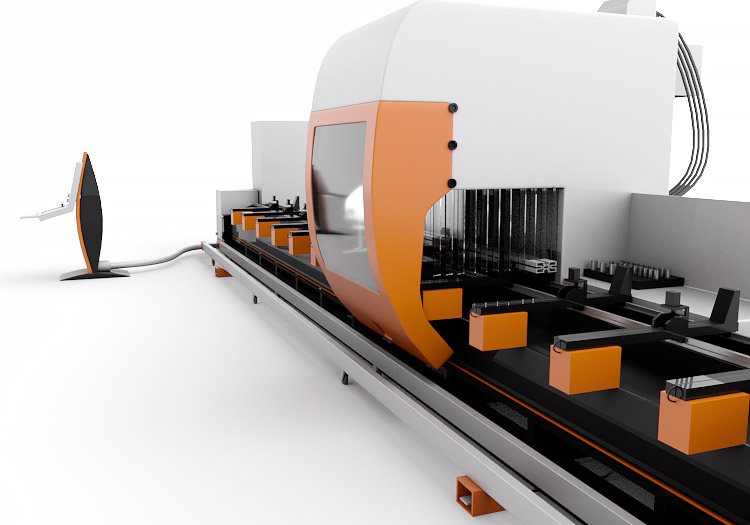
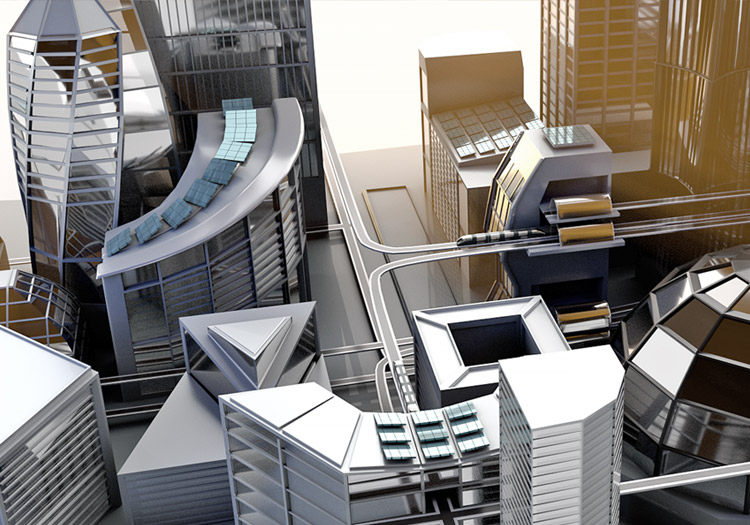
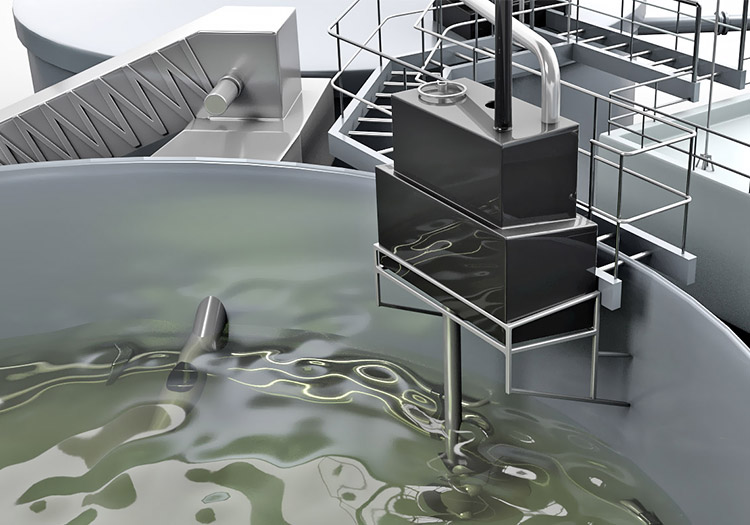
Smoothing should be done with caution, because adding extra complexity will make your model more difficult to animate. High Polygon models have best use in creating industrial beauty shots without complex animation. Z-brush is a tool that leverage large amount of polygons nicely.
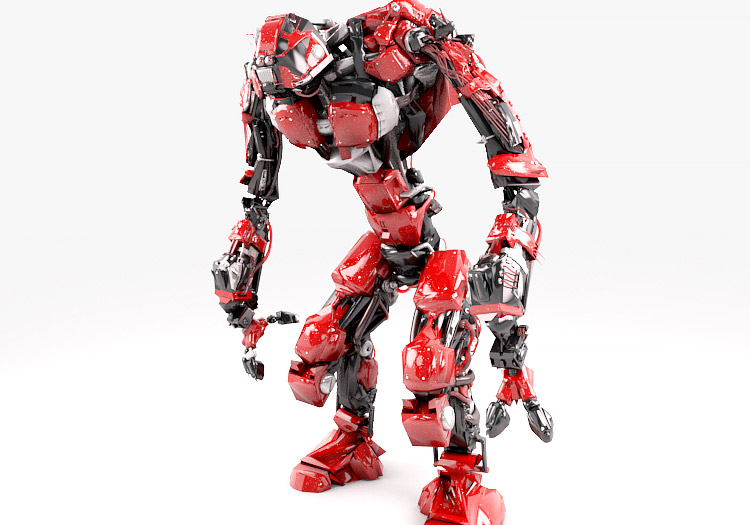
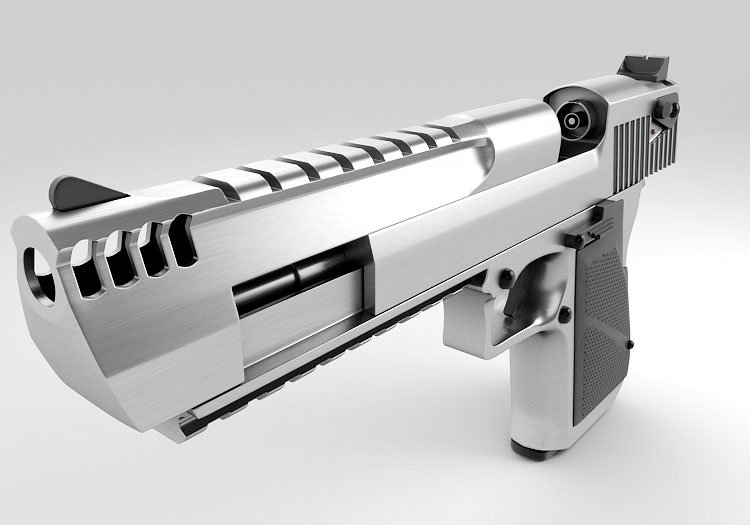
Assembling High Polygon models
Good modeling practices with high-poly models is to create separate pieces which you will group later. Reason for this is easy material and texture manipulation. UV mapping can become very difficult when there is large amount of vertices. Keeping them “stored” in smaller groups can make materialized process.

You can group separate pieces by selecting all geometries and pressing “ctrl+g” keys. With this entire model can be manipulated as one part. Eventually you can combine all pieces by selecting “Mesh -> Combine”, but keep in mind that UV texture manipulation will also be gathered in single map. If you want to edit UV maps after combining , best way would be to inverse that process with “Mesh -> Separate” option.


If you click on additional combine options, you can find UV merging options that can help you with further texture managing.