Using parenting, grouping and pivot techniques to setup fundamental mechanic animation in Autodesk Maya.
One of the most basic animation approaches is by connecting elements in parenting chain, and setting the individual pivots. To set parent relationship, simply select child element first, and then select the parent one. After you got both of them selected in proper order, you press the “P” key.
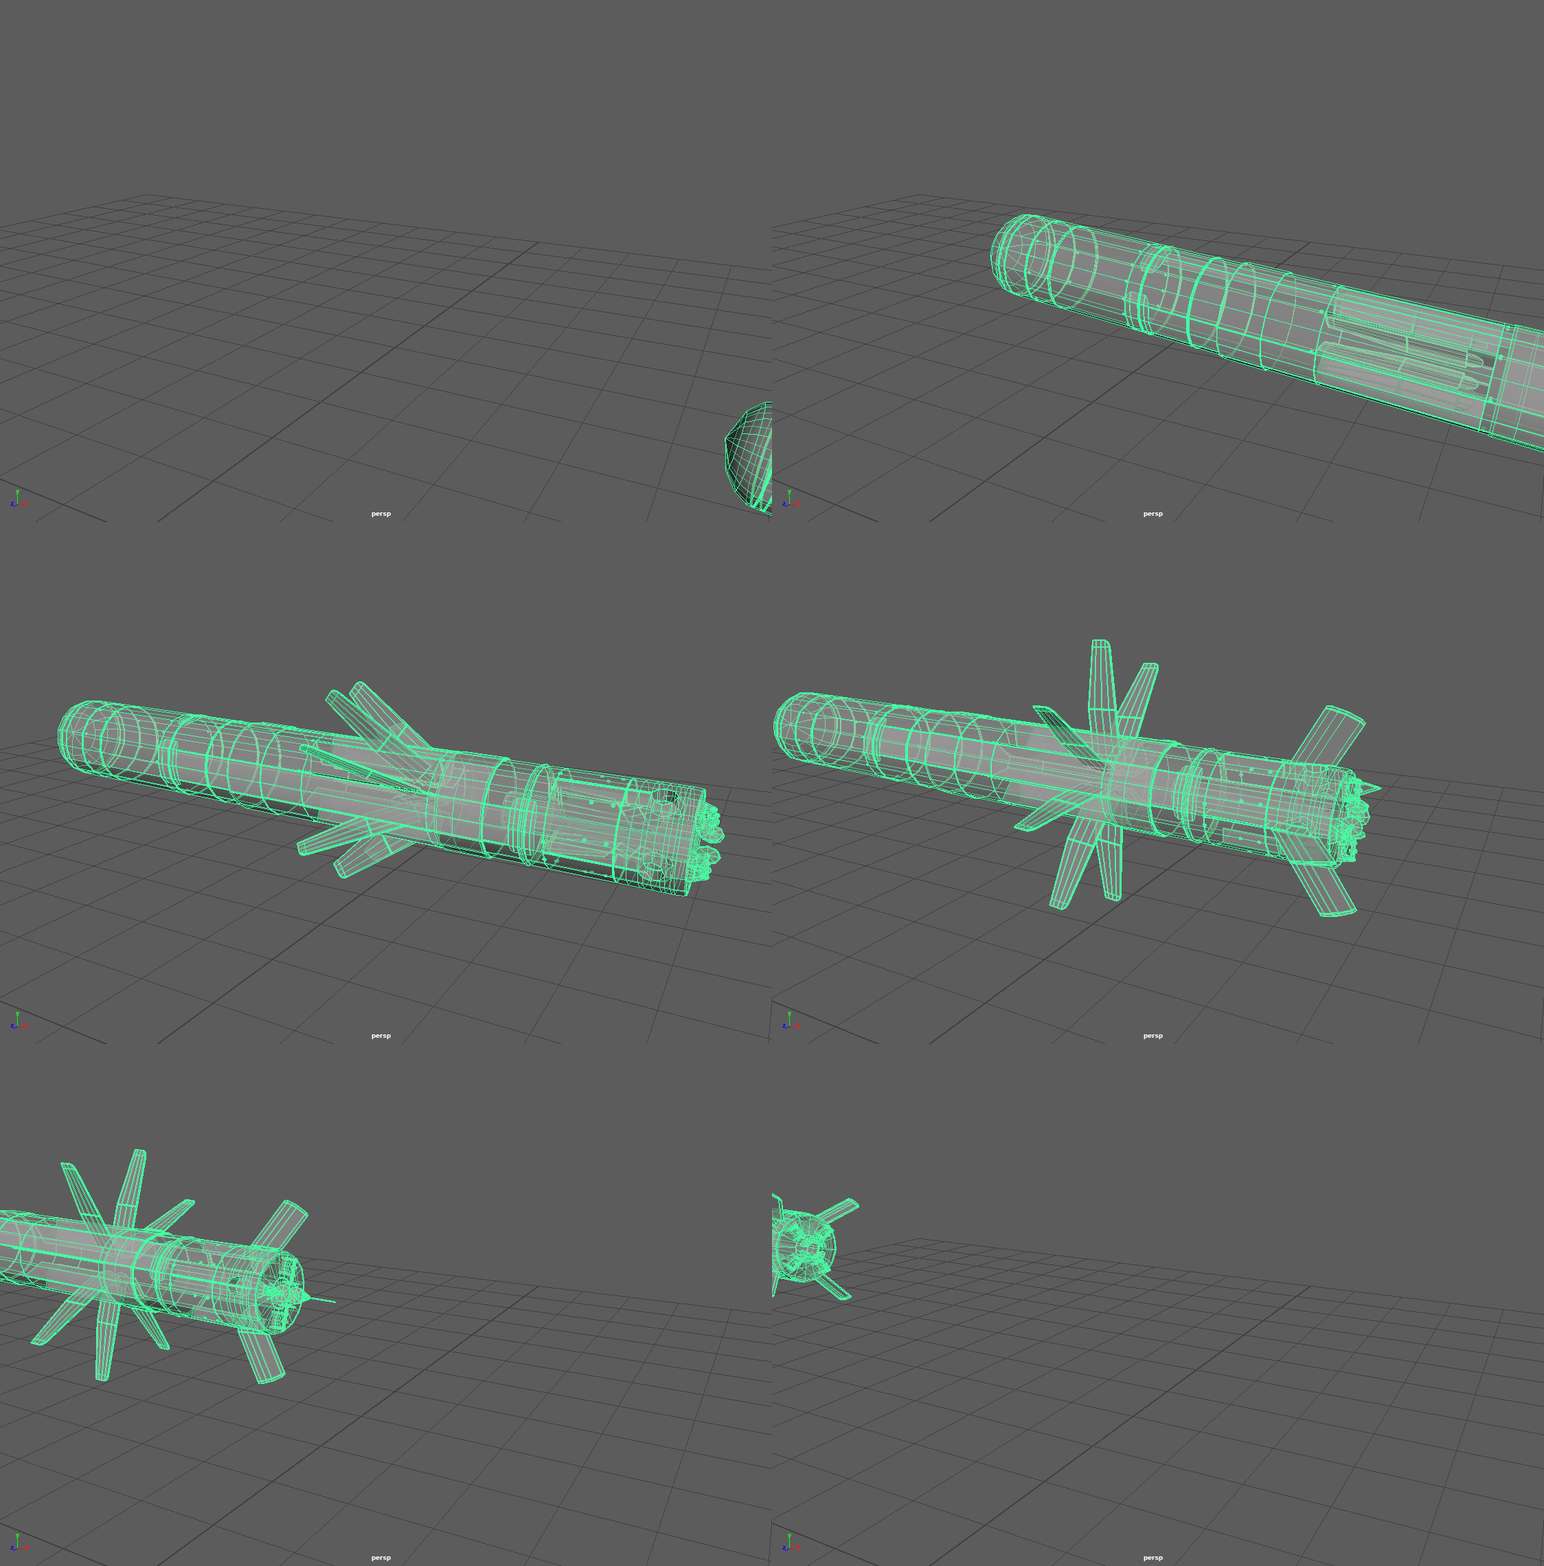
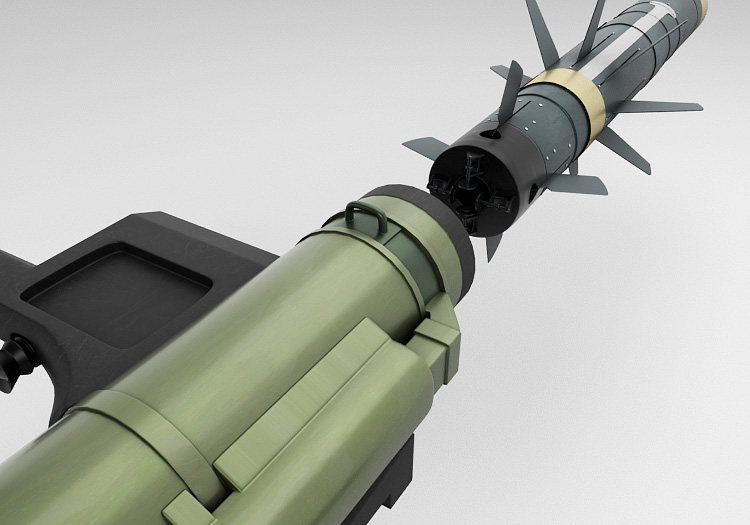
Relationship between parent and child element is presented on 3d comps javelin missile model. Blue elements are children and purple is a parent.
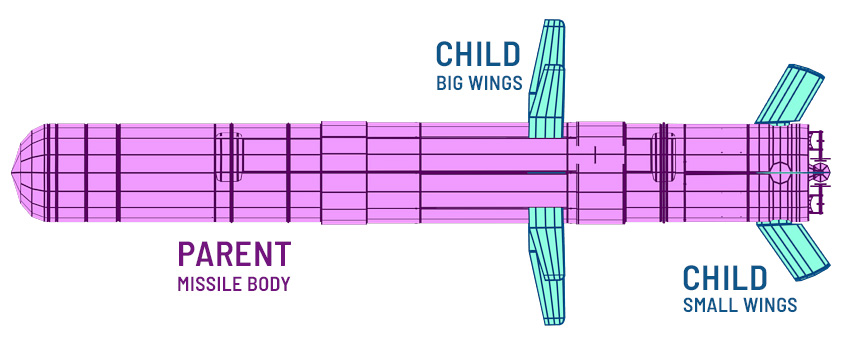
Setting parent objects with grouping them with outliner.
Outliner window is the best way to monitor and control parenting relationship. You can access it trough “Windows -> Outliner”
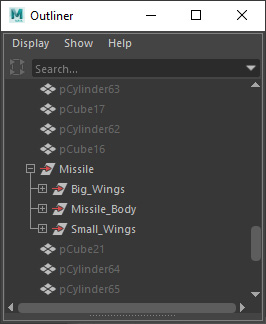
In this case we had group body and wings individually, before we make parent chains. Parenting can also be done by creating a hierarchy in folder structure. By moving parent element you will move all the child elements in below hierarchy.
When making a parents, you will also arrange this hierarchy automatically. Our “Missile” group is presenting a parent, which when moved, automatically chains sub elements to follow same path, but without attaching any keyframes to child elements.
Setting the object pivot as animation revolving point.
On every object, within attribute editor, there are pivot coordinates available for the adjustments.
For easier manipulation it is enough just to press “D” or “insert” button, after which you can set it by using traditional translation or rotation technique.
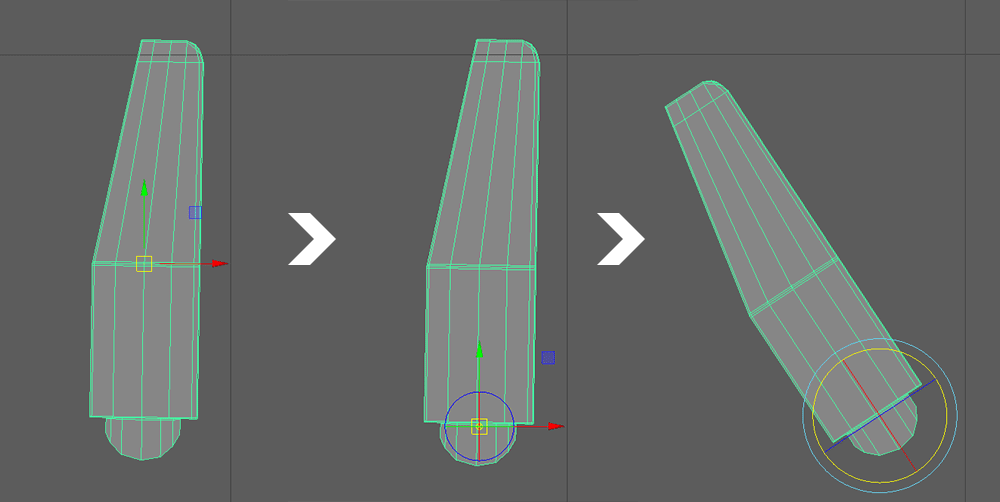
On the image above, pivot is displayed from central origin point, to the bottom edge. On very right image, object is revolving around new pivot origin. To set pivots more precisely, you can use snap option to attach it right to the edge or vertex position or orientation. This can be achieved by holding the “control” key, while pressing left mouse button.
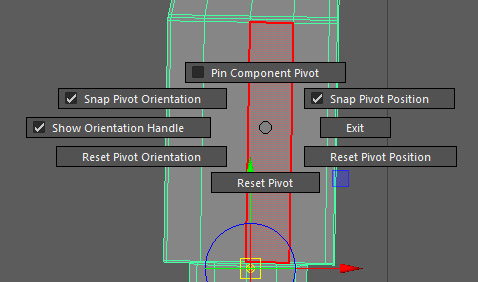
When manipulating pivot origin, you can access options menu by holding the right mouse key when pivot is active. You can choose whether you want to set orientation, position or even to reset both.
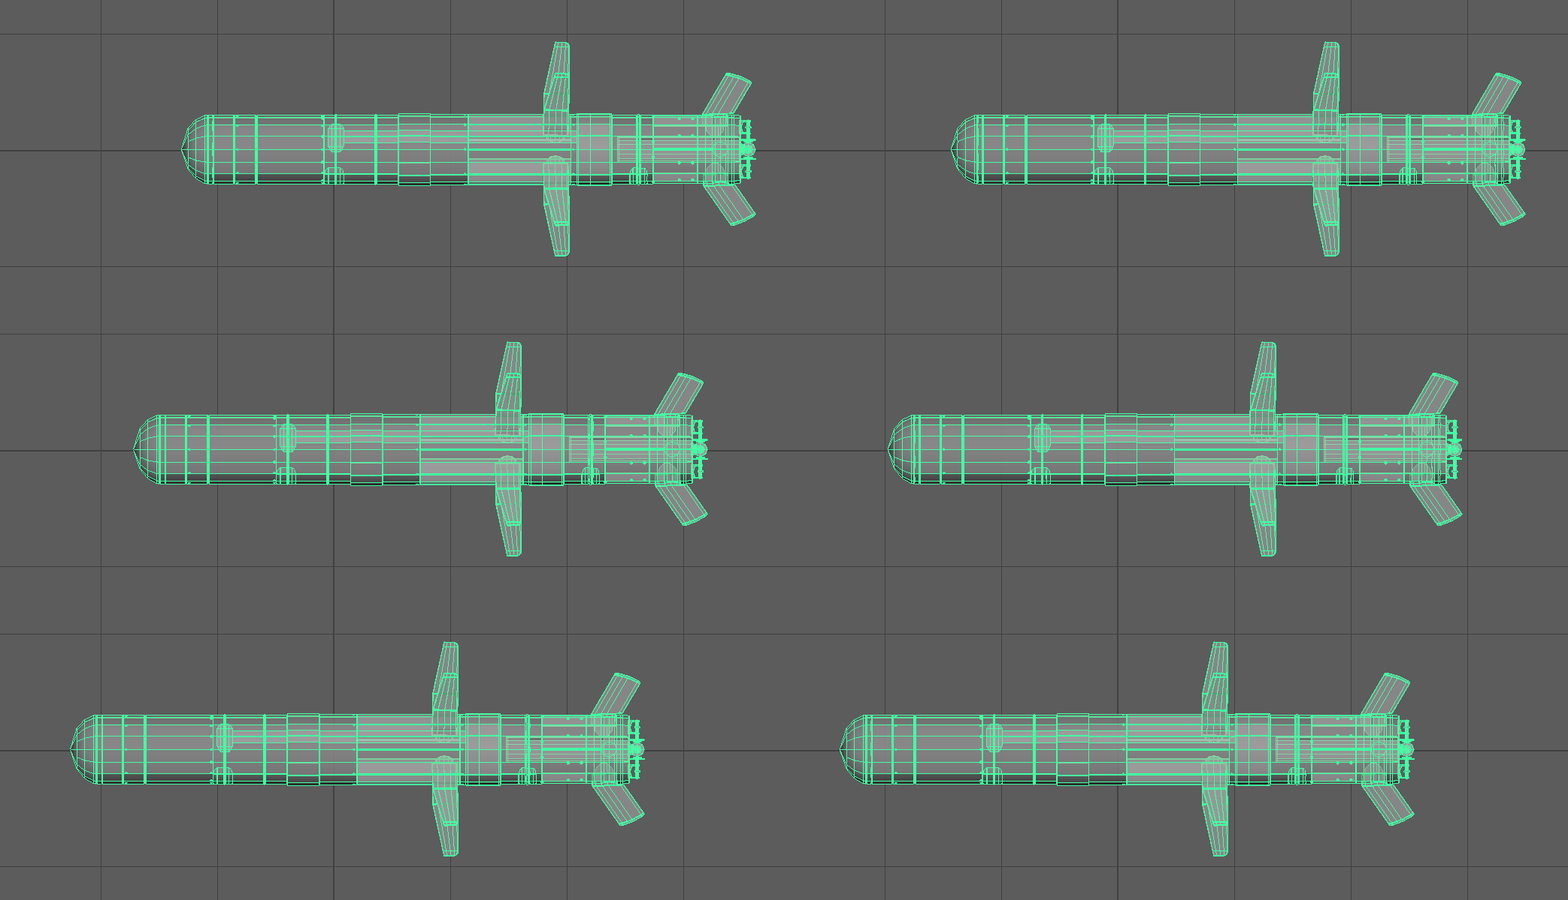
Now we want to duplicate those wings with preserving pivot point that we have set individually. The fact that we have already set pivots that are not matching are duplication revolving pivots can make thing a little bit tricky to handle. One way to handle this is to group individual object, and to set pivot for that group at 0, 0, 0 coordinates, while pivot for inner object will remain same. After that, you can duplicate that group and add 45 degrees revolving offset for each. Once you are finished, you can ungroup that elements just to make overview in outliner much cleaner.
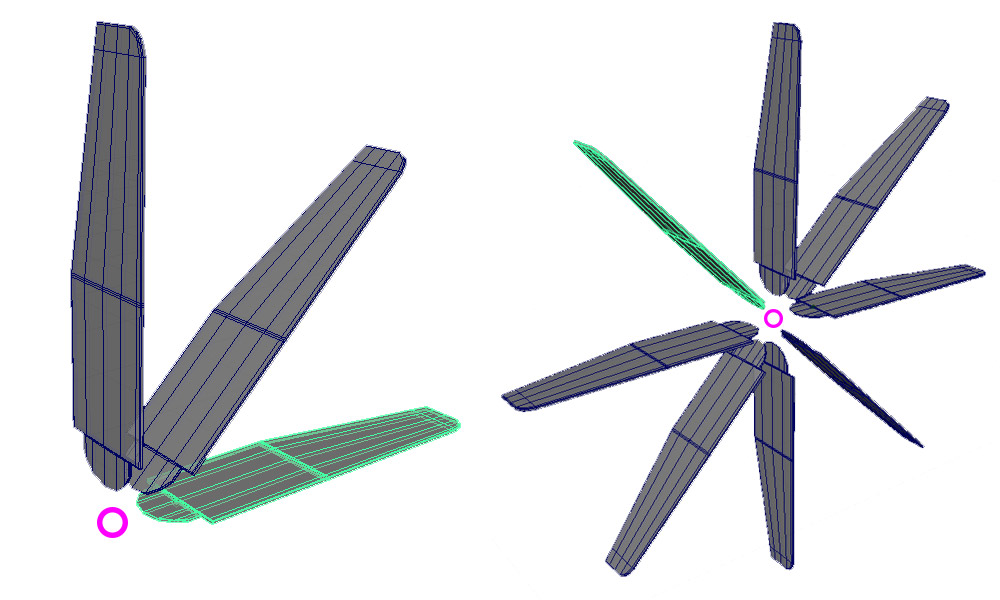
After closing entire circle, we are finishing grouping sections as previously discussed at the beginning of this post.
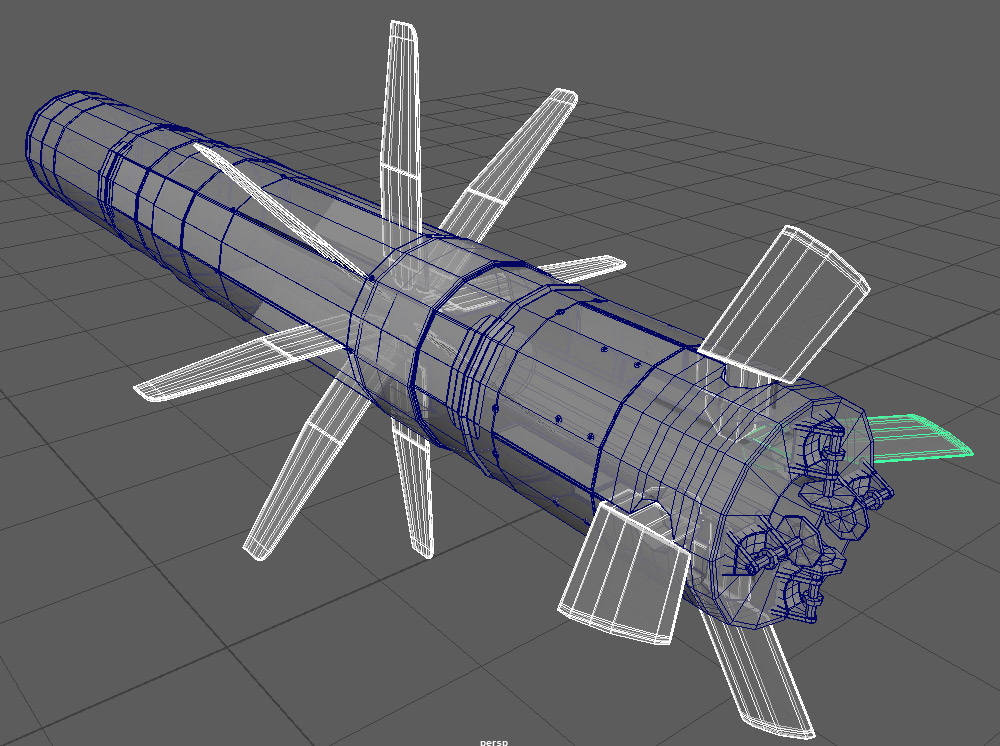
Placement and grouping of “Big” and “Small” wings inside the missile chassis.
Animating objects rotation based on pivot origin point.
After having grouping finalized, with our individual pivots preserved, we can start animating our missile launching. As a main parent, we will animate “Missile” group that is holding all other groups. For that we will simply bind translation keyframes to it.
To animate wings independently, we have to select each of it separately by holding “shift” key. When selection is finished, you can animate rotation by pressing “R” key, or by accessing rotation Y values from attribute editor.
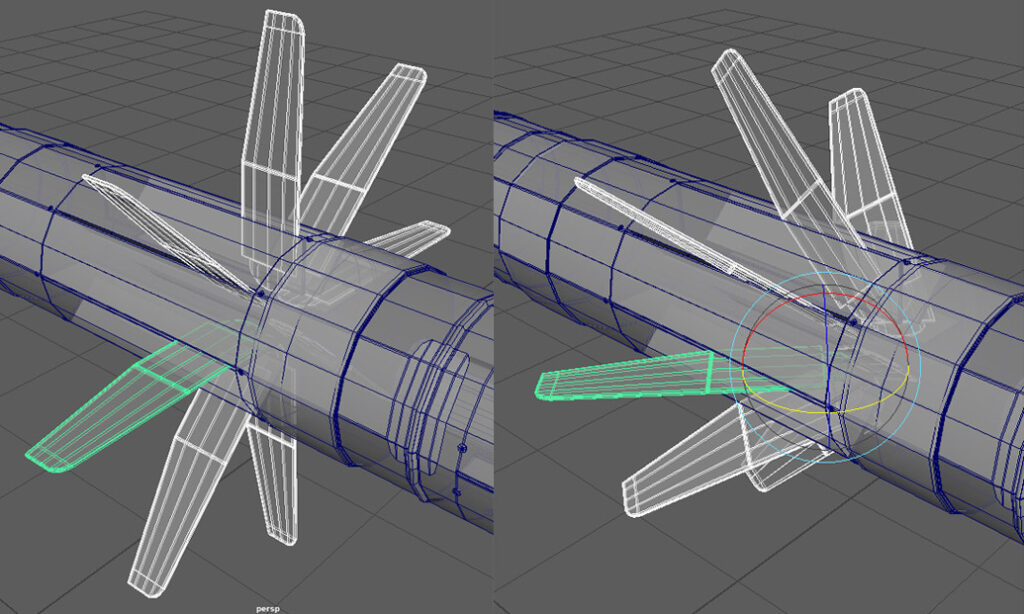
By selecting multiple objects with predefined individual pivots, we can make uniform animation which is controlled from single source. Set keyframes for starting and ending wings position and observe animation “Graph editor” for keyframes interpolation.
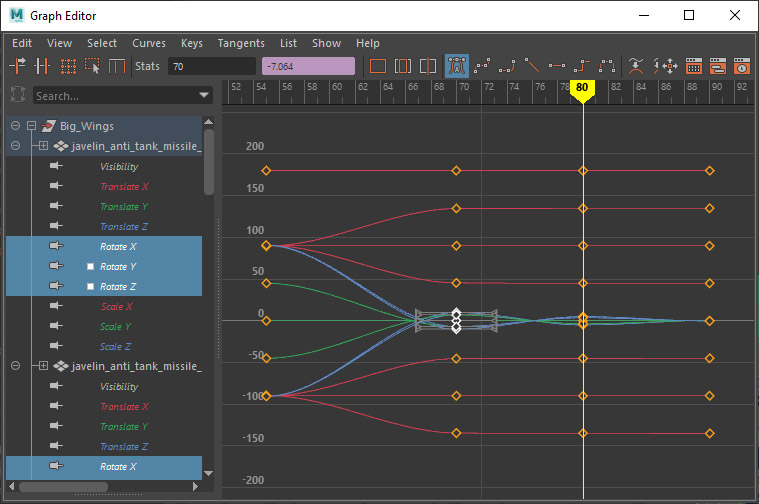
In graph editor you can precisely set the keyframe tangent interpolation, if less uniform animation is required.
At the end our missile launching animation looks chained and connected.
