Fundamental lighting settings in Maya Arnold needed for rendering of photo realistic 3D scenes.
Depending on scene content, you have to adjust light sources so that they reflect physics that would be present in similar “real life” surroundings.
Arnold environment node
Best way to start is to create Arnold environment node inside render settings panel. Depending of what kind of environmental lighting is required, you can upload different HDR image to the color node. Intensity option will set amount of lightness that is illuminating the scene.

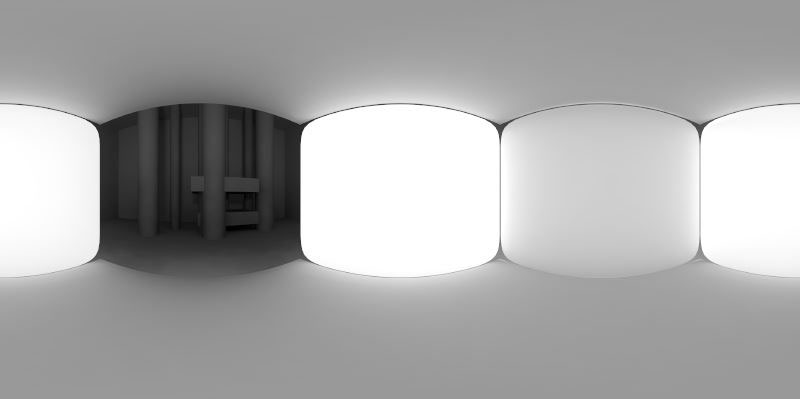
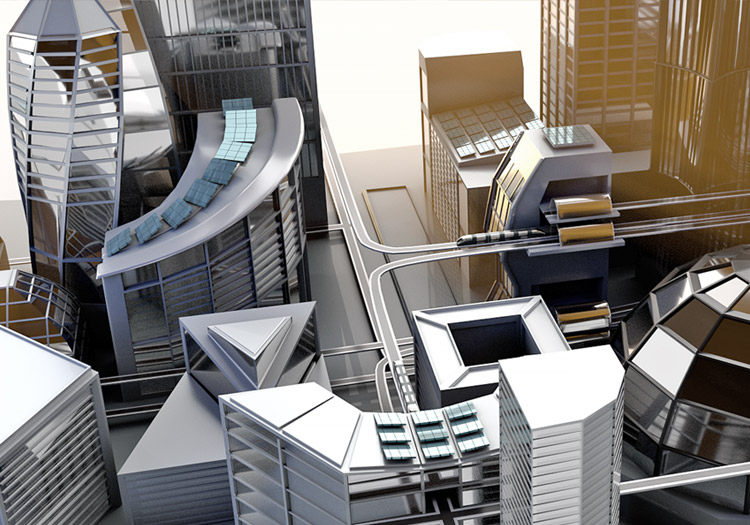
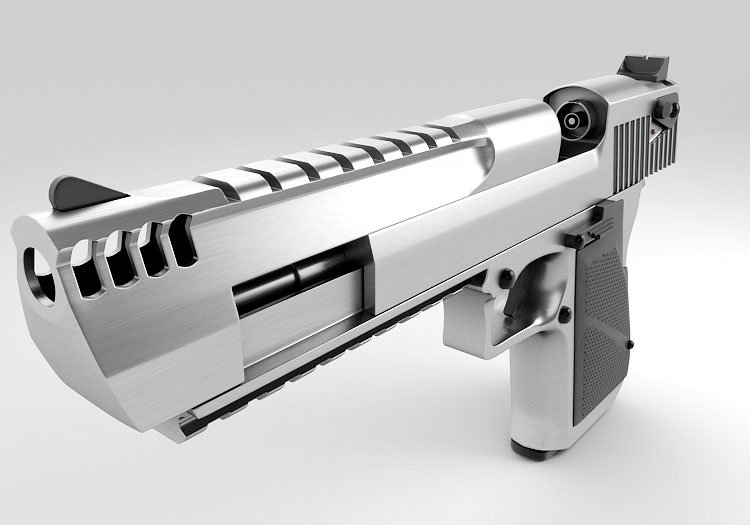
For this outcome we have used artificially created HDR map that simulated conditions that are mostly similar to studio photo shooting lighting setup.
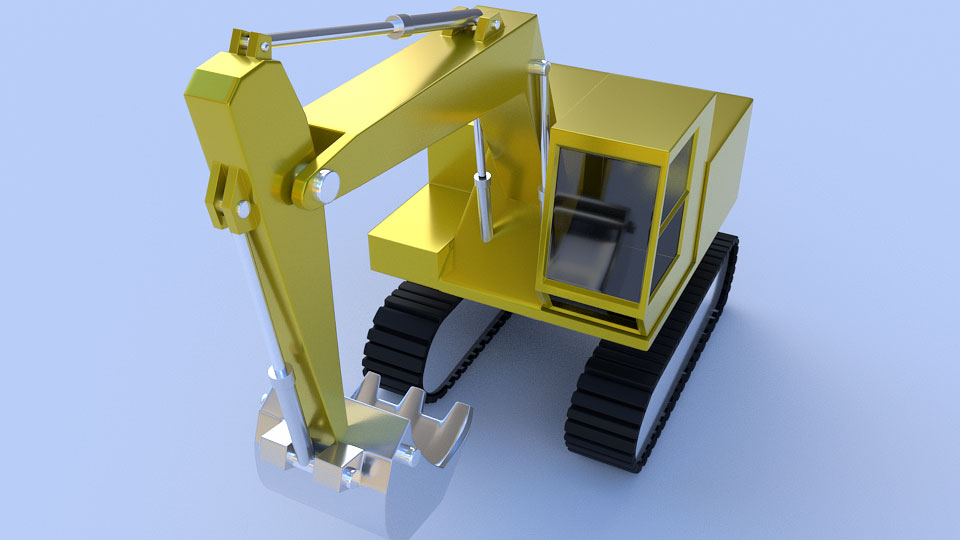
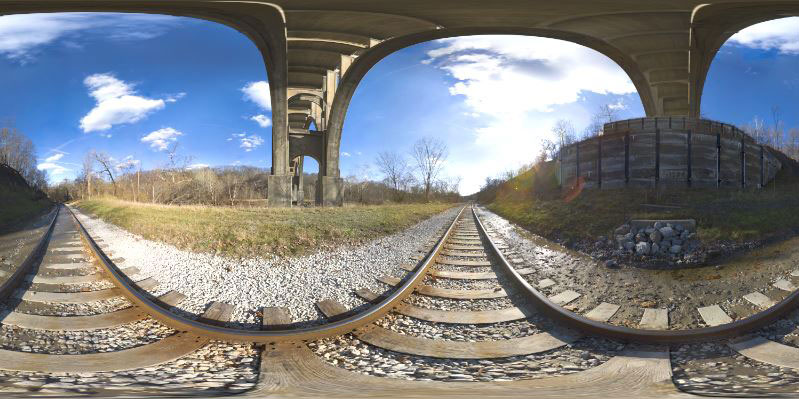
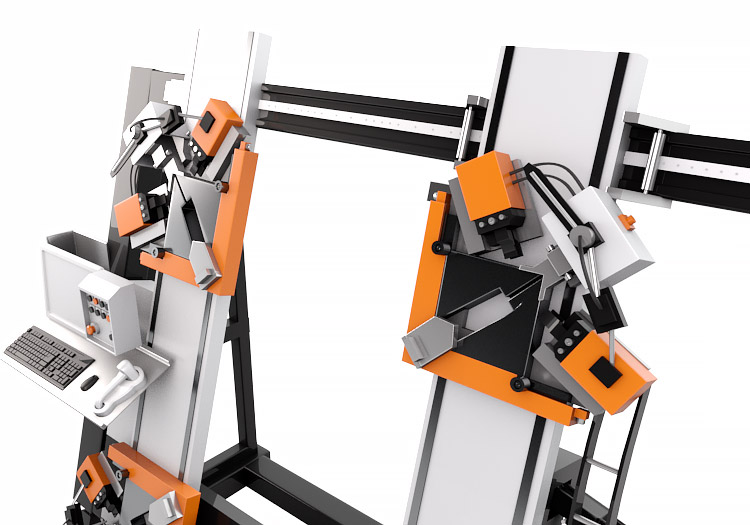
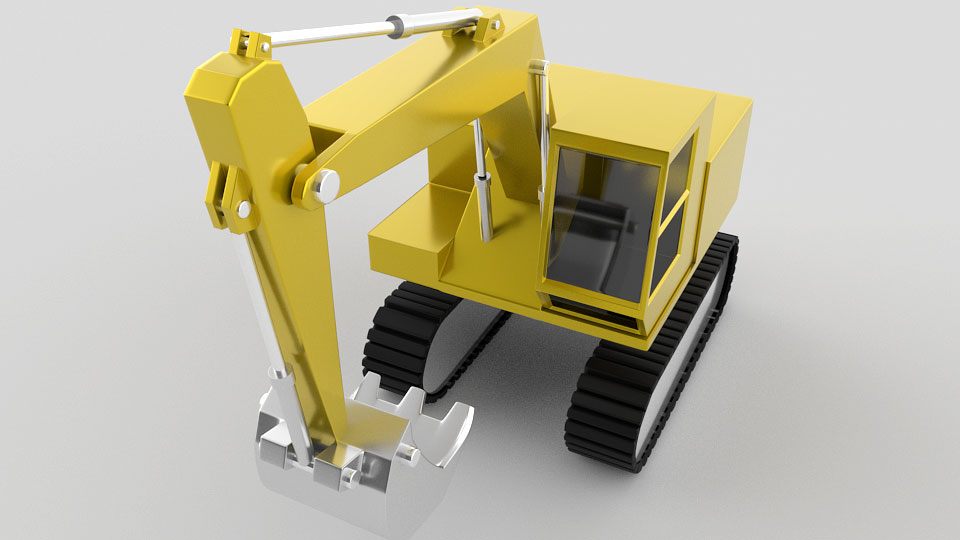
This HDR photography of natural environment is used to generate the visual above. Light sources are not evenly spread, and specular reflections are giving strong belonging to surroundings.
Depending of needs, you can choose amount of environment influence areas within attribute editor. In render stats section there is an ability to include or exclude certain options. These are:
- Cast shadows – check if global “soft” shadows are needed. Unchecked by default.
- Primary visibility – checked by default, uncheck if global texture is not needed in rendered view.
- Visible in Diffuse Reflection – this option is most important as it is illuminating entire scene, and it is enabled by default.
- Visible in Specular Reflection – it is selected by default, and gives color and light to reflective surfaces.
- Visible in Diffuse transmission – participation of HDR light in refractive diffusion surfaces.
- Visible in Specular transmission – participation of HDR light in refractive specular surfaces.
- Visible in volume – participation in volumetric lighting.
There is also option of adding Physical Sky Shader that simulated outdoor “open” sky and sun, and Ray Switch Shader. Both of those options are giving more diffuse global illumination where color tint and intensity can be controlled.
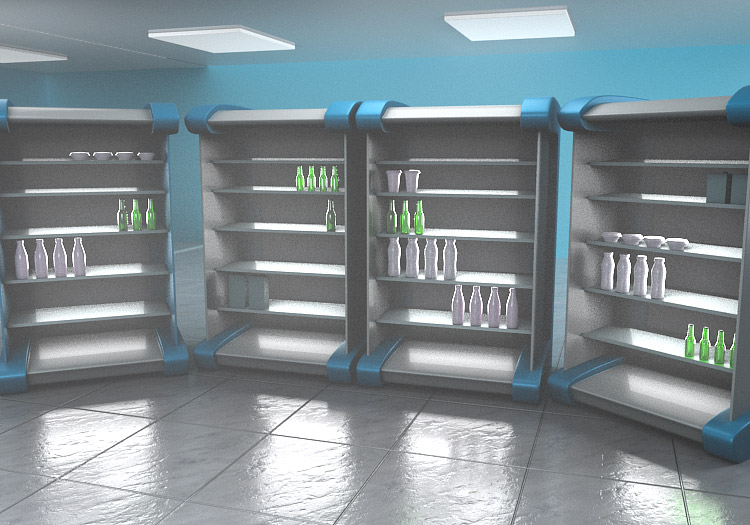
Environment node is important for exterior scenes, but for the interiors it doesn’t have much influence as the scene is surrounded with walls.
Arnold area light
Regardless of whether you are using Maya default light set, or Arnold specific ones, both will have Arnold options enabled if same renderer is activated. Among these options are:

- Light Shape – where you can choose between quad, cylinder and disk shape.
- Spread
- Resolution
- Roundness
- Soft edge – will produce glowing effect on larger light concentration.
- Cast Volumetric shadow –when enabled, light will start to transmit volumetric rays.

Arnold Photometric light
Photometric light is using IES file as a mapped source of intensity and shape. It is considered to work as a single pointed light emitter.
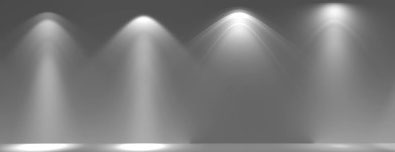
Examples of IES light shapes. Shadows are usually very sharp.
Arnold mesh light
To create a Mesh light, first you need to create a mesh object, and then after to apply Mesh light to that shape. Select an object, go to top menu and select Arnold -> Light -> Mesh Light. Now light will take a shape of selected object which becomes the light emitter.
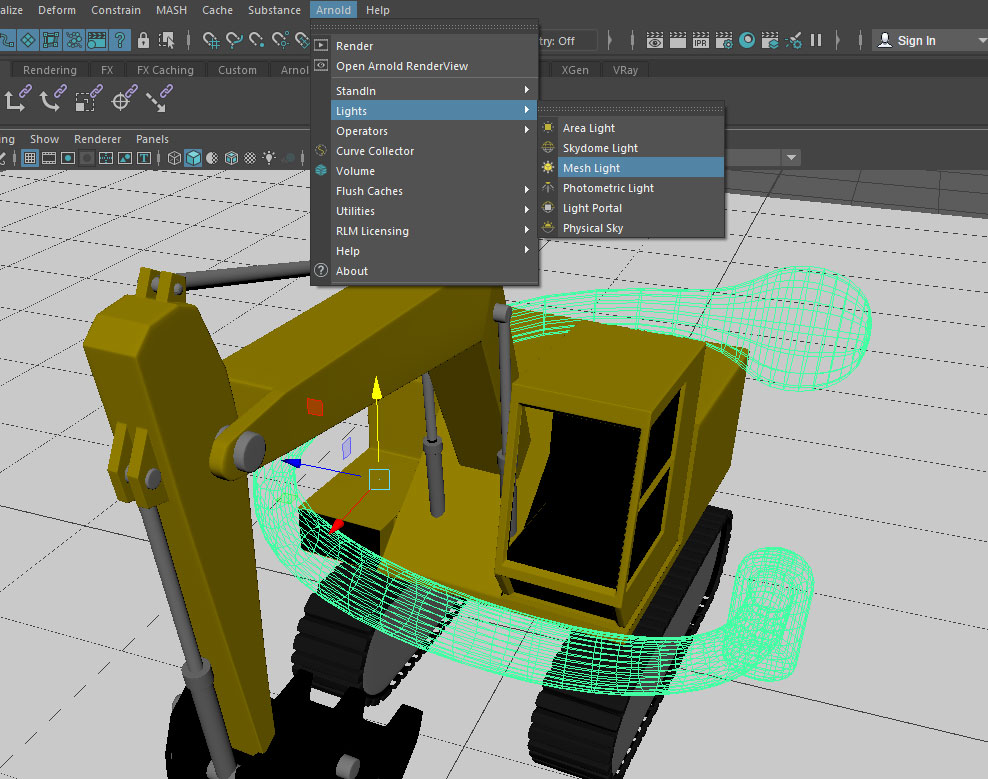
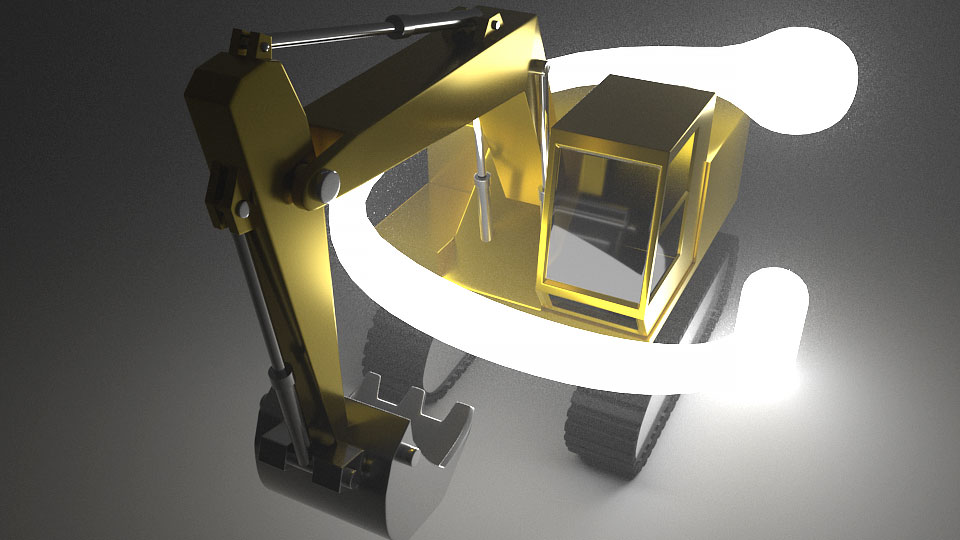
Once you apply mesh light, shape will become invisible by default. To enable shape visibility, go to attribute editor and select “Light Visible” option. Also to enhance brightness of shape, we have disabled the “Normalize” option.
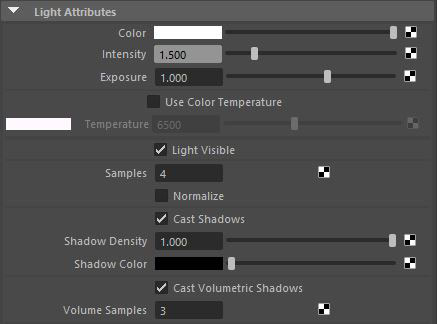
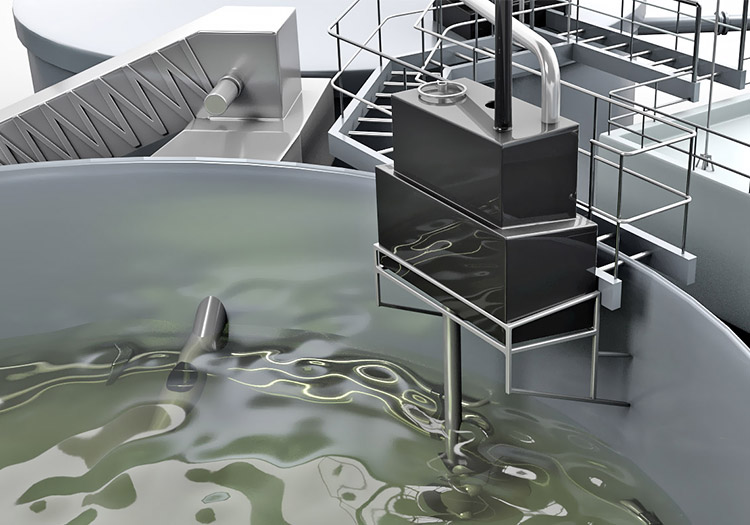
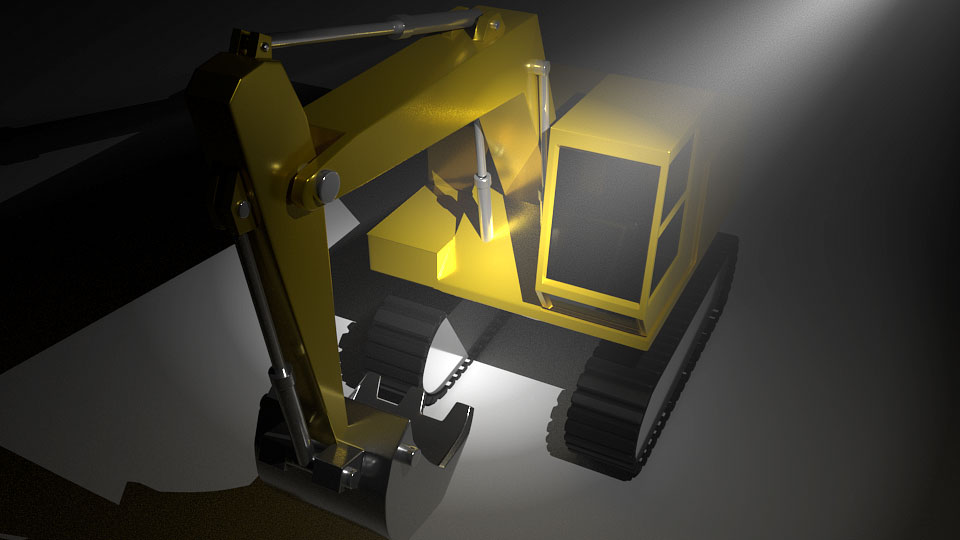
Enabling regular and Volumetric shadows is providing more real lighting effect on the surroundings. With light photons concentrating around the custom shape, we are able to render unique lighting effects.
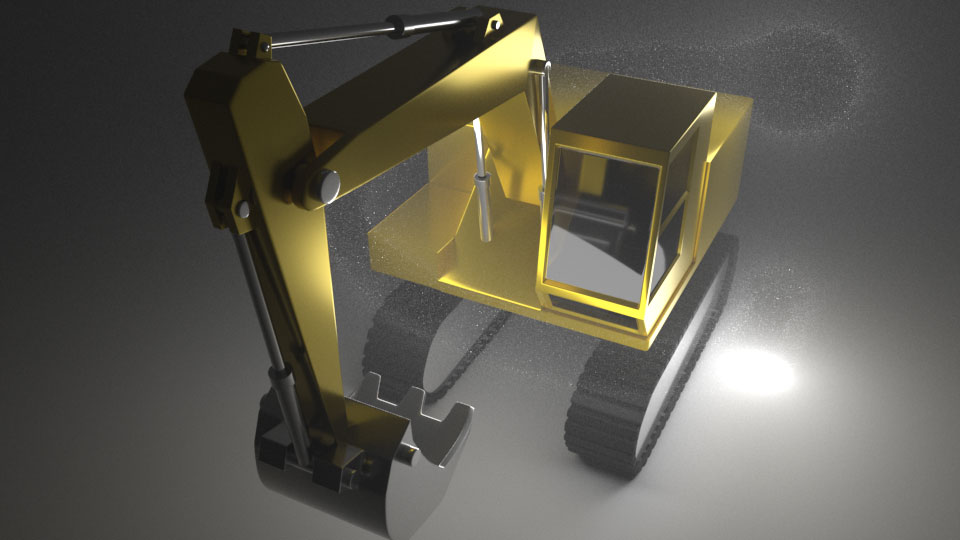
When disabling the light visibility, we can see how volumetric photons are concentrated around hidden shape.
Arnold Dome light
This lighting options is very similar as environment node explained at the beginning of this post. It creates sphere around the scene, on which you can control color and amount of irradiance that lights the scene. This option is good if you need to create evenly lighted scene.