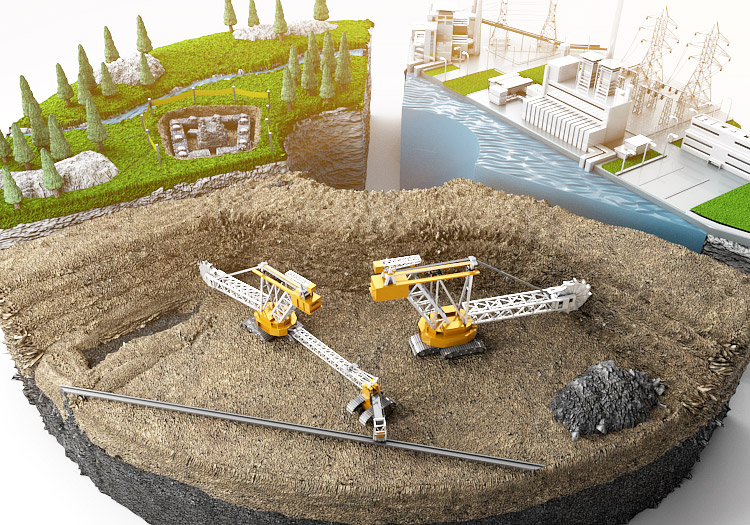
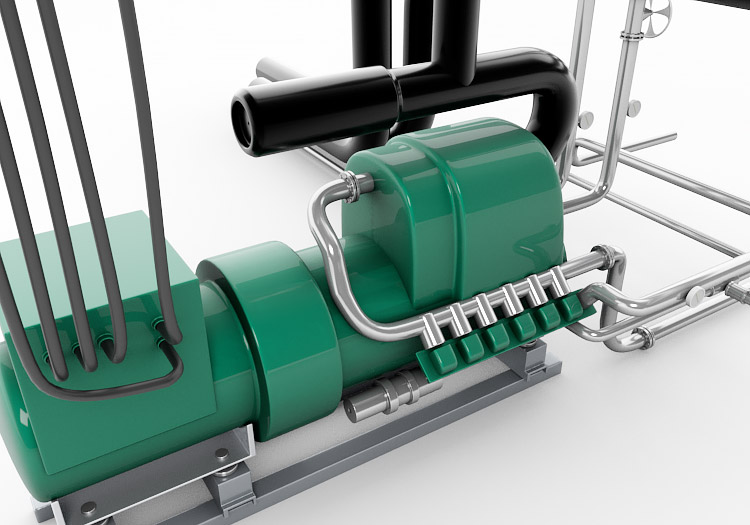
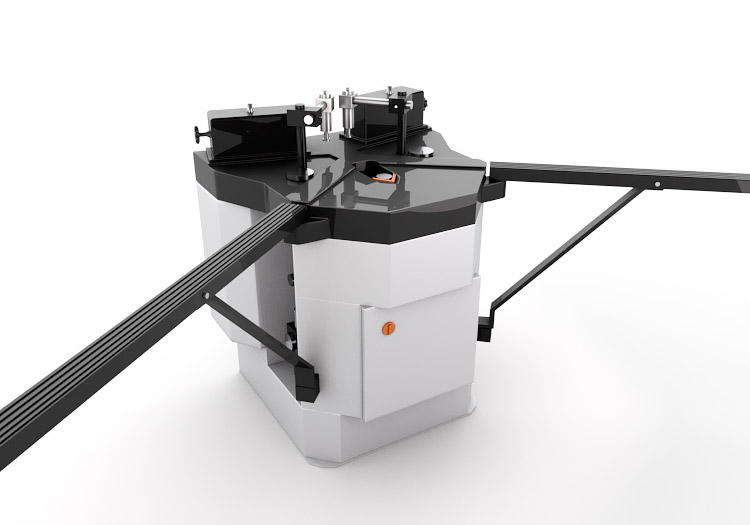
3D Models with medium polygon count
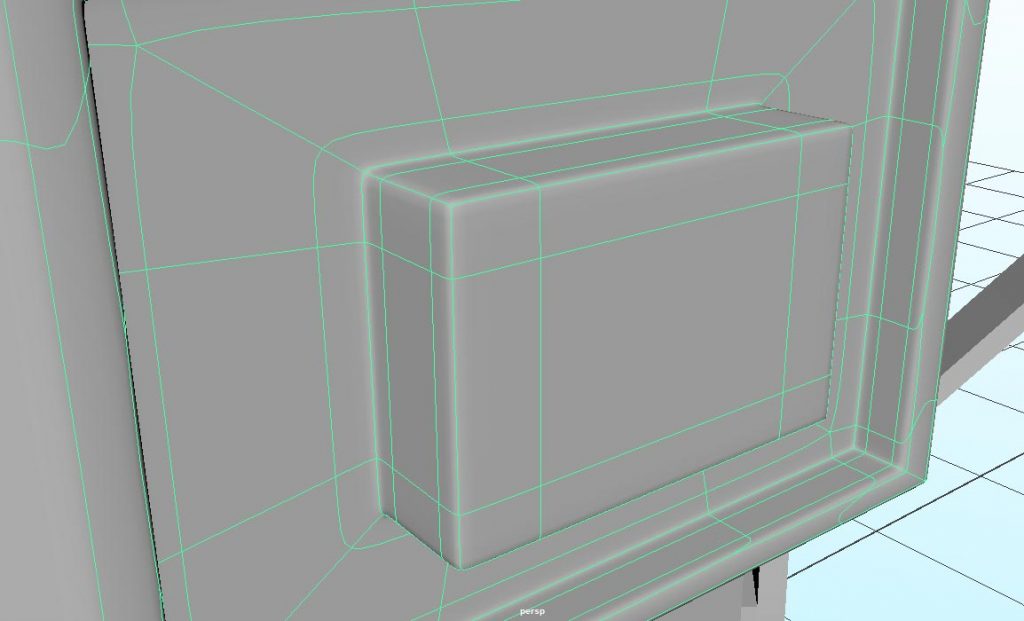
Sometimes there is a need to add an extra geometry to existing model, to achieve better and believable visual appearance. Very often this can be done by extruding surfaces. Good way to create more complex shape out of single primitive in Maya, is to add edges with edge loop tool, after which we can extrude additionally created surfaces.
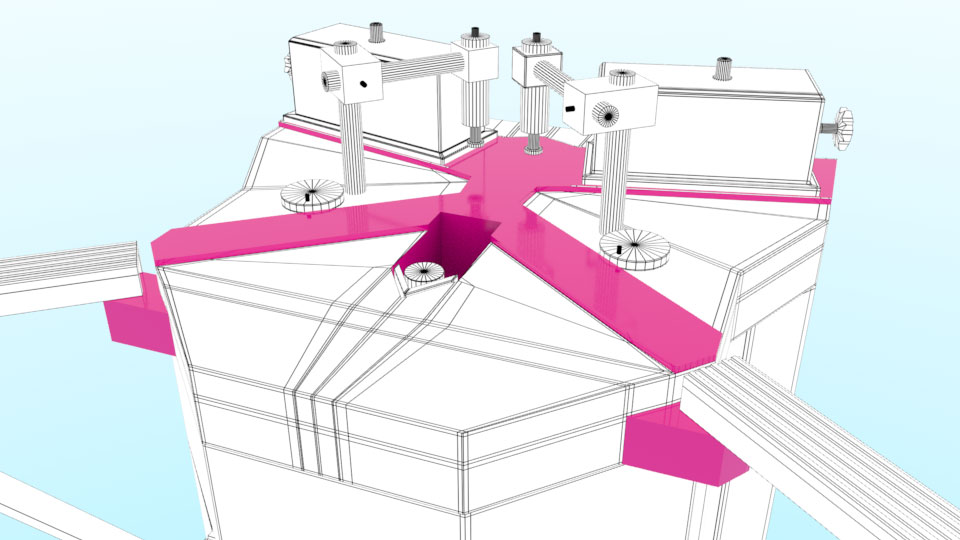
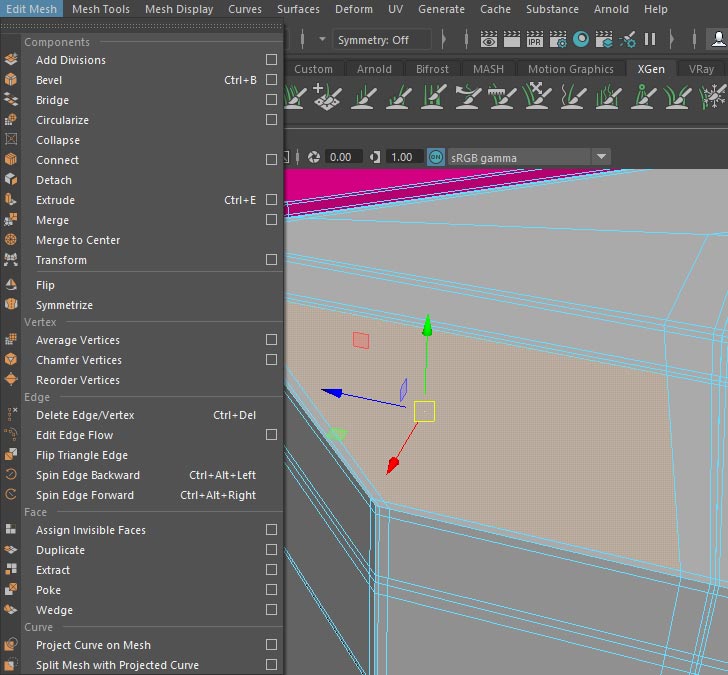
To do this, you should select desired face, and then go to Edit Mesh → Extrude.
After that, you can move extruded face up or down depending on whether you need a hole or a bump.
However there is one flaw with usage of edge loop tool for increasing geometry. Like that, you can add more polygons to faces where you don’t need any increase. Keeping number of polygons at optimal level is important especially if you are working on large scenes. Mass duplications of unoptimized objects can slow down your scene loading, manipulation, as well as rendering time.
Multi Cut Tool
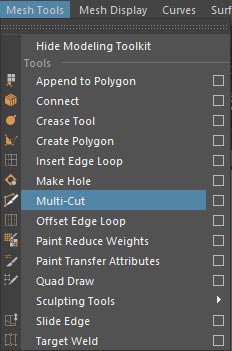
To localize poligons properly you can use Multi Cut tool. You can find it on top navigation: Mesh Tools → Multi-Cut
Or by reaching the same items within Modeling hotkey section.
With it, you can create custom shapes by connecting existing edges, increasing the geometry only where it’s needed. Best practise is that all newly created polygons should be rectangles, without any vertex not being connected.
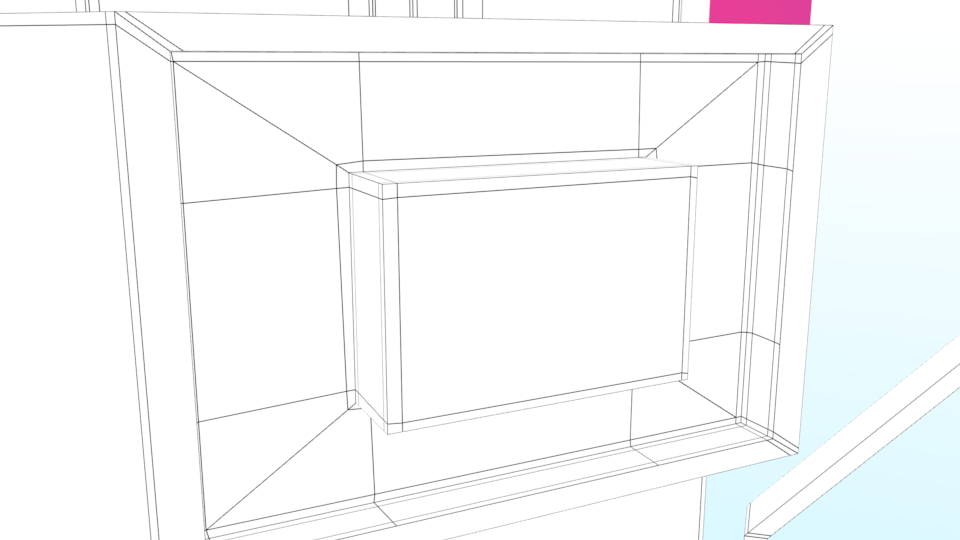
In parallel you can check how subdivision geometry is displayed, with enabling smooth view by pressing key ‘3’.
